9.21.2010

New pattern: Khufu Mitts

The September shipment of the 7 Ancient Wonders Club by The Unique Sheep is winging its way to club members all over the world, and I'm going to give you a little peek at what's inside! It's my new pattern, Khufu Mitts, inspired by the Great Pyramid at Giza. I have long been obsessed with all things Egypt, so when I was approached about designing for the club, I was more than excited to be assigned The Great Pyramid! At first I was a little stumped at how to make a mitten correlate to a desert region, but in the end I'm really happy with the symbolism here!

Cabled cuffs suggest the waves of the Nile River

Bricklike patterning and a pointed mitten top represent the pyramid itself

Sand stitch across the hand evokes the vast deserts of Egypt

These mitts are worked in the amazing Green Sheep Sport, an organic merino wool truly unmatched by anything else in its class. Only 250 yards knits up the pair of mitts, which are worked upwards in one piece from the cabled cuffs. Instructions are included for a full and partial thumb, and a nifty convertible mitten top means the wearer may choose between a full mitten and a fingerless glove.

This pattern is exclusive to club members until March of 2011, but if you are interested in knowing when the pattern is available for sale, please leave a comment on the pattern page, and I'll be sure to let you know! In the meantime, why not look into joining another of The Unique Sheep's clubs?

9.17.2010

Welcome and a free pattern!

I'm so excited about my new Knitty pattern, Crosswaves, which I'm sure most of you have seen already! This pattern has been a long time coming, as I designed these socks in September of 2009, and I'm so glad I can finally share them with you! By the way, these were a total accident, because the day I was struck with the idea to design them, I was actually trying to design something else entirely. Hooray for serendipities, yes?

Click here to get the free pattern!

Squee! I love the Converse shot!

I'm so pleased to have so many new visitors to the blog, so welcome if this is your first visit! I'll be doing a post in the next couple of days to sort of explain why I'm The Sexy Knitter, so do stop back by and have a peek at that, won't you? :)

Oh! And just click the little photo to download the free pattern. You can queue it up on Ravelry right here. Enjoy! 

7.16.2010

In which we shop at Etsy...

One of the projects on my needles at the moment is a reknit of my Diamondback Shrug for Knit Picks. I'm this close to finishing the new sample, knit up in their City Tweed (which, by the way, is amazingly squooshy, especially in garter stitch). As I've been knitting along, I've been considering how I want to style the photo shoot. . .I know there will be some big, chunky jewelry involved, so naturally, I turned to Etsy.

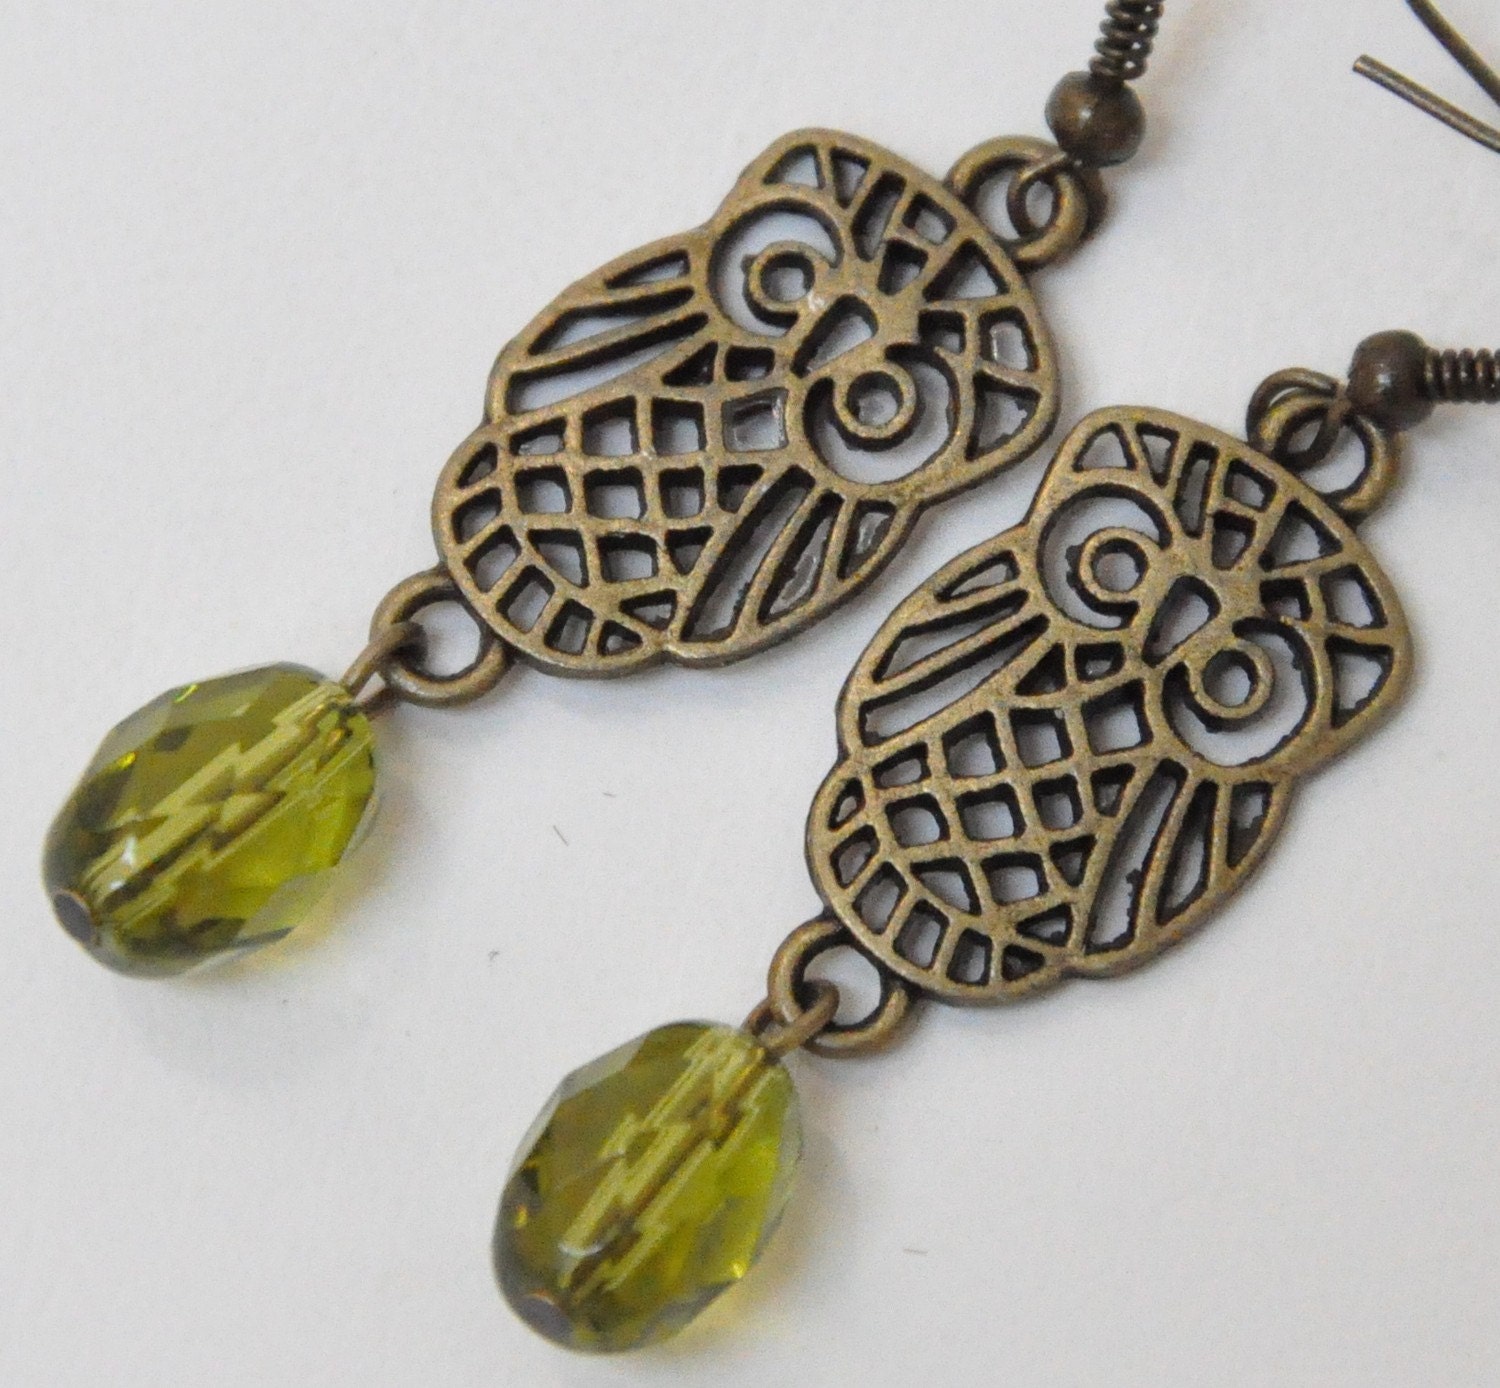
While I was looking, I found these:

way cute, right? click the photo to view the listing!

While I've decided to style the Diamondback with my own jewelry from 579, I couldn't pass these up. At $8.75, they are such a steal! The shop has plenty of other cute things, too, prettily photographed and very reasonably priced.

I got so excited about my new owl earrings, I was inspired to create a whole owl treasury! Did you know there are about a million awesome owl-y things on Etsy? Of course you did. . .and here are just a few of my favorites:

                      
gahhhh! so many owls! i want them all! click the photo to view my treasury

Between Etsy treasuries and Polyvore, I could waste ginormous amounts of time. Perhaps I should have been a graphic designer - I love playing with photos!

If you stop by the treasury, do leave a comment, won't you? :)

7.15.2010

Rag Quilting for Project Linus

Three snuggly quilts await new homes

Many moons ago, I undertook a rather large charity project, and since I began that project, I have made over 200 rag quilts. I chose to make rag quilts for my project because rag quilting is, quite simply, the easiest and silliest blanket-making method that I've ever seen, resulting in the most delightfully snuggly blankets imaginable. If you can cut on a straight line and sew on a straight line, you can make a rag quilt! It really is that simple. If you want to learn more about it, Wendy Bernard has written an excellent tutorial which you may download for free right here. Anyway, what was I saying? Oh yes, the charity project. Well, we finished that project, we actually did! Almost 250 quilts in less than a year by no more than three sewers. . .I'm still quite proud of that, let me tell you! But I was saying, after we were finished with that particular project, I had a few quilt squares left over. About 15 blankets' worth, in fact. Those squares, they sat and they sat and they sat and they sat. For about three years, they sat. I even had to move those big trash bags full of quilt squares from Florida to Kansas, and still they sat. I'd promised myself that I'd finish them up and donate them to some kind of charity, but see, after that Big Project, I thought if I never saw another Quilt Square, it would be too soon. Fast-forward to April, this year. One of my LYSs here in Kansas City hosts charity drives throughout the year, and they announced that the second-quarter charity would be benefitting Project Linus. If you've never heard of Project Linus, you should definitely give that link a visit, because they are a most worthy charity organization which has brought comfort and warmth to almost 3 and a half million children through the gifting of handmade blankets. If that doesn't just blow your mind, well. So you know what I did? I hauled those big bags of quilt squares out of the basement, dusted them off, opened them up and got to quilting! I've already donated 10 so far, and I have only 3 left to finish up before this Sunday's deadline.

I'm curious: How are you using your talents, whatever they may be, to benefit those less fortunate than yourself? I'm not talking about just giving money to charities, here - I'm talking about getting down in the trenches and really doing something. Do you volunteer at a soup kitchen? Knit caps for preemie babies? Crochet prayer shawls for the sick? Perhaps you volunteer your time regularly at an organization like The Ronald McDonald House or Heart Gallery of America (which, by the way, is awesome and I just heard about the other day). Share with me! How are you changing the world? :)

7.14.2010

No-Bake Blackberry Nectarine Cheesecake

Last night, we had guests for dinner and board games. Nothing too fancy, you know, just throw a couple of frozen pizzas in the oven (actually, we had these guys' frozen pizza, so as it turns out it was kind of fancy). The day before, I was texting the guests about dessert options, and given the choice between blackberry cobbler, cheesecake, or cookies, the answer was "Yes". Well! I got to thinking, and I started thinking that blackberry cheesecake sounded rather good, and to put it on a cookie crust sounded even better. So I mishmashed a few things together, and here's what I wound up with:

 Using nectarines instead of peaches prevents oxygen discoloration

I promised my Twitter followers a recipe, so here it is:

Crust
15 Pecan Sandies cookies, crushed to oblivion
2 Tbsp butter, room temperature
1/2 cup pecan pieces

Combine the crushed cookies and butter with a pastry cutter or your fingers. Press firmly and evenly into the bottom and sides of a 9-inch pie pan. Sprinkle pecans across the bottom, patting them into the crust a bit so they stick. Bake in a 350-degree oven for 8-10 minutes. Allow the crust to cool completely before adding filling.

Filling
2 8-oz packages cream cheese, room temperature
1 14-oz can sweetened condensed milk
1 Tbsp lemon juice + enough nectarine juice to make 1/4 cup
1 teaspoon pure vanilla extract
1/2 pint frozen blackberries, chopped into pieces

Note about the nectarine juice: Peel a ripe nectarine, then just sort of squish it to death with your fingers - you'll get lots of juice and a bit of pulpy stuff, too. The puply stuff is okay, because it'll all get blended in when you mix up the filling. :)

To make the filling, just dump all of that stuff except the blackberries into one large bowl. Mix it with an electric mixer on high until alllllllll the lumpy-bumpies are gone, or at least 5 minutes. Gently fold in the blackberries. Pour the filling into the cooled pie crust, and top with a sliced nectarine and a couple of whole blackberries. This cheesecake needs to be refrigerated at least 6 hours before serving, but it's best to make it the afternoon before and let it refrigerate overnight so it can really set up.

Enjoy!